
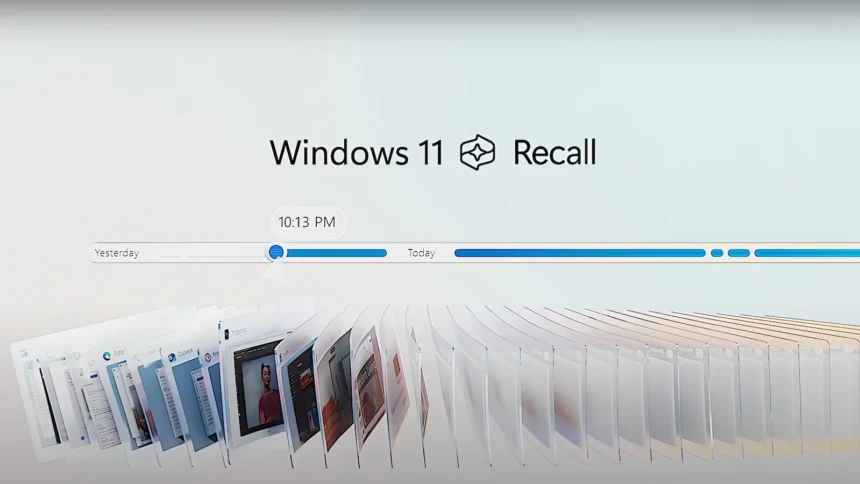
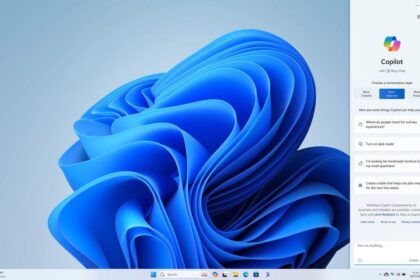
Windows 11 Recall represents Microsoft’s ambitious foray into AI-powered personal computing assistance. This sophisticated feature operates by continuously capturing screenshots of your desktop activities at regular intervals, creating a comprehensive visual timeline of your computing sessions. The primary objective is to enable users to navigate through their digital history seamlessly, allowing them to locate previously viewed content, resume interrupted tasks, and retrieve information without relying on traditional search methods.
The technology leverages advanced machine learning algorithms running on specialized Neural Processing Units (NPUs) found exclusively in Copilot+ PCs. These dedicated AI chips ensure that the processing occurs locally on your device, maintaining privacy while delivering real-time performance. However, despite its innovative capabilities, many users prefer to maintain complete control over their privacy and system resources.
Why Users Choose to Disable Recall
Privacy and Security Concerns
The concept of continuous screen recording raises legitimate privacy concerns among users. While Microsoft has implemented robust security measures, including local processing and encryption, the fundamental nature of the feature involves capturing potentially sensitive information displayed on screen. This includes personal documents, financial information, private communications, and confidential work materials.
System Resource Management
Recall operations require considerable system resources, including storage space for screenshot archives, processing power for AI analysis, and memory allocation for real-time monitoring. Users with limited storage capacity or those prioritizing system performance for demanding applications may prefer to allocate these resources elsewhere.
Corporate and Compliance Requirements
Organizations operating under strict data governance policies may require the complete removal of features that capture screen content. Regulatory compliance in sectors such as healthcare, finance, and legal services often necessitates precise control over data collection mechanisms.
1. Disabling Recall Through Group Policy Editor
The Group Policy Editor provides the most comprehensive method for completely removing Recall functionality from Windows 11 Pro, Enterprise, and Education editions.
- Press
Windows key + Rto open the Run dialog - Type
gpedit.mscand press Enter - If prompted by User Account Control, click “Yes” to proceed
- In the Group Policy Editor window, expand the left navigation panel
- Follow this path:
Computer Configuration → Administrative Templates → Windows Components → Windows AI - The Windows AI folder contains all policies related to artificial intelligence features
- Within the Windows AI folder, find the policy named “Allow Recall to be enabled“
- This policy specifically controls the availability and functionality of the Recall feature
- Double-click on “Allow Recall to be enabled” to open the policy configuration window
- Select the “Disabled” radio button
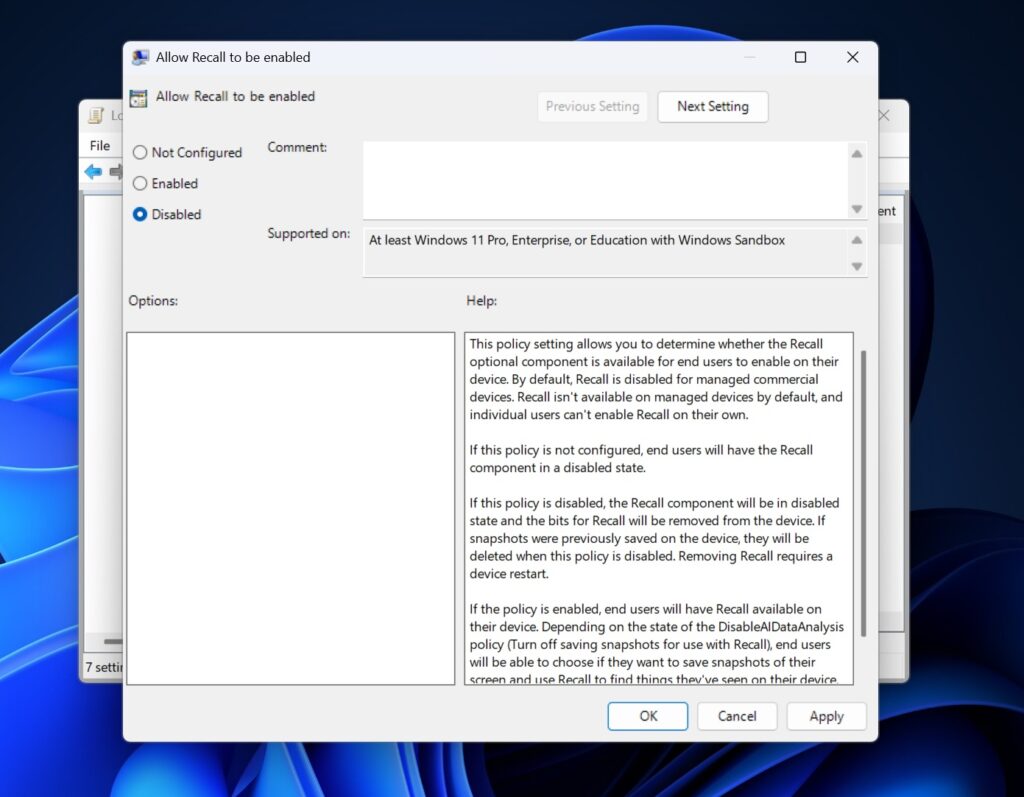
- This setting will completely remove Recall components from the system
- Click “Apply” followed by “OK” to save the configuration
- Restart your computer to implement the policy changes
- Upon reboot, all Recall-related components will be removed from the system
Understanding Policy States
- Not Configured (Default): Recall components remain available but inactive
- Enabled: Allows users to activate Recall through system settings
- Disabled: Completely removes Recall components and related system files
2. Registry Editor Approach for Windows 11 Home
Windows 11 Home users lack access to the Group Policy Editor, making the Registry Editor the primary method for Recall management.
- Press
Windows key + Rto open the Run dialog - Type
regeditand press EnterAccept the User Account Control prompt to proceed with administrative privileges - Use the address bar or navigate manually to:
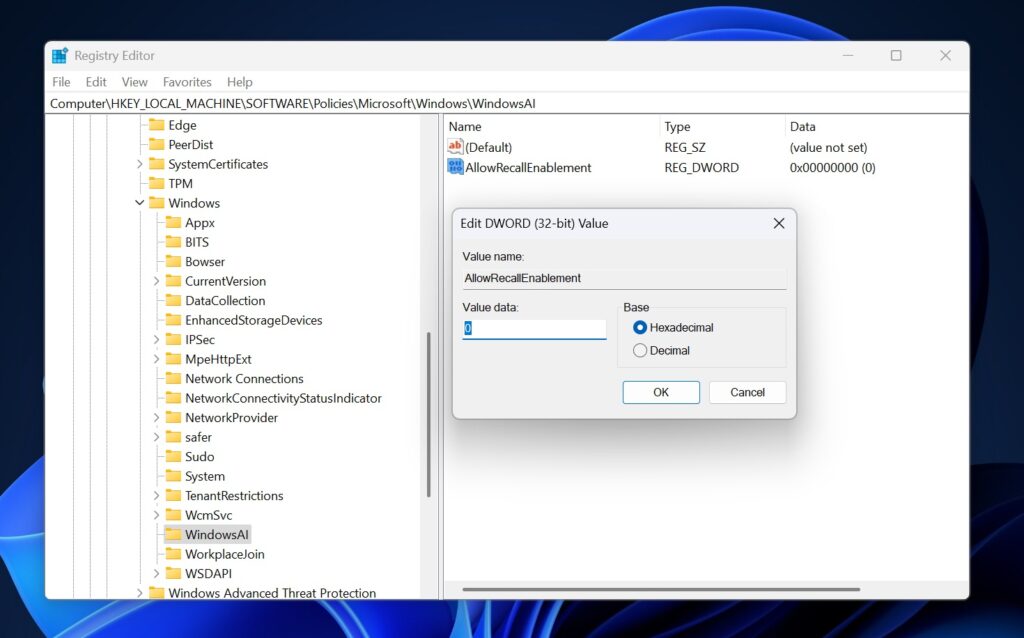
HKEY_LOCAL_MACHINE\SOFTWARE\Policies\Microsoft\Windows\WindowsAI- If the The
WindowsAIfolder doesn’t exist, you’ll need to create it - Right-click on
Windowsfolder and selectNew → Key - Name the new key
WindowsAI - Navigate to the newly created folder
- Right-click in the empty space of the right panel
- Select
New → DWORD (32-bit) Value - Name the value exactly:
AllowRecallEnablement - Double-click on
AllowRecallEnablement - Set the Value Data to
0(zero) - Ensure the Base is set to “Hexadecimal”

- Click “OK” to save the configuration
- Close the Registry Editor
- Restart your computer to activate the modifications
Registry Safety Considerations
Always create a system restore point before modifying the registry. Incorrect registry modifications can cause system instability or boot failures. Consider exporting the registry branch before making changes to enable easy restoration if needed.
3. PowerShell Command for Enterprise Management
System administrators managing multiple devices can utilize PowerShell for efficient Recall management across enterprise environments.
- Right-click on the Start button
- Select “Windows PowerShell (Admin)” or “Terminal (Admin)”
- Accept User Account Control permissions
Disable-WindowsOptionalFeature -Online -FeatureName "Recall" -Remove
- The command will display progress information
- Wait for the successful completion confirmation
- Restart the system when prompted
This PowerShell method integrates seamlessly with Group Policy deployment, Microsoft System Center Configuration Manager, and other enterprise management tools. Administrators can create scripts for automated deployment across multiple systems.
Verification and Troubleshooting
Confirming Recall Removal
After implementing any of these methods and restarting your system:
- Open Settings (
Windows key + I) - Navigate to Privacy & Security
- Verify that the Recall-related options are absent
- Examine the system tray and taskbar
- Recall icons and controls should be completely removed
- Check for Recall-related folders in user directories
- Verify that screenshot storage locations are cleared
Common Issues and Solutions
Issue: Group Policy changes don’t take effect immediately.
Solution: Ensure you’ve restarted the computer and run gpupdate /force in Command Prompt
Issue: Registry modifications seem ineffective.
Solution: Verify the exact registry path spelling and ensure the DWORD value is set correctly to 0
Issue: PowerShell command fails with a permissions error.
Solution: Ensure PowerShell is running with full administrator privileges
Re-enabling Recall (If Desired)
Should you decide to restore Recall functionality:
Group Policy Method
- Return to the “Allow Recall to be enabled” policy
- Change the setting to “Not Configured” or “Enabled.”
- Restart the system
Registry Method
- Delete the
AllowRecallEnablementvalue or set it to1 - Restart the computer
PowerShell Method
Enable-WindowsOptionalFeature -Online -FeatureName "Recall"Disabling Windows 11 Recall provides users with complete control over their system’s AI features and privacy settings. Whether motivated by privacy concerns, resource optimization, or regulatory compliance, these methods ensure thorough removal of the Recall functionality.
The choice between Group Policy, Registry modification, or PowerShell depends on your Windows edition and technical comfort level.


