
Microsoft Office is packed with powerful tools that help you work with all kinds of documents-whether it’s writing reports, organising data, or creating presentations. But among all these well-known apps, one often flies under the radar: OneNote.
At its core, Microsoft OneNote acts as a digital notebook. It’s built for jotting down ideas, organising information, managing projects, and keeping everything you need in one place. Think of it as your personal workspace for notes that never get lost in a pile of paper or forgotten in an app you never open.
If you’re using OneNote as part of your Microsoft 365 subscription but feel like you’re not tapping into its full potential, you’re not alone. That’s why we’ve put together some practical tips and best strategies for OneNote organisation to help you make the most of this underrated gem.
And if you’re also looking to sharpen your skills in Windows 11, don’t miss our guide on Windows shortcuts and Onenote 365 tips
Best Ways to Organise OneNote notebooks
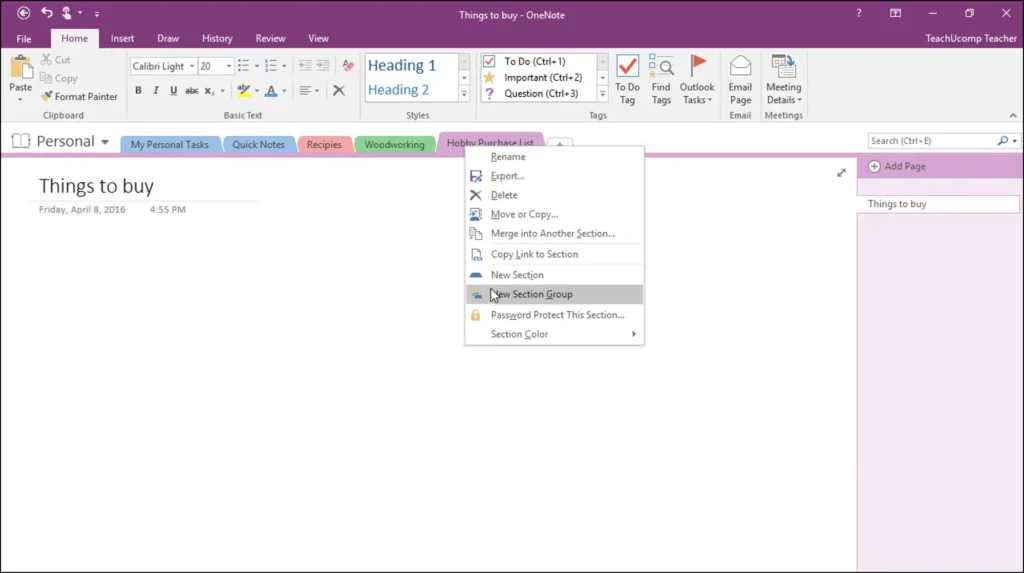
1. Merge Sections in OneNote
If you’re a regular OneNote user, you probably already know that the app organises content using sections and pages, which helps keep your notes tidy and easy to navigate. But what if you’ve been working in two separate sections and now want to bring everything together? Good news-it’s simple to do.
Here’s how to merge two sections in just a few steps:
- Right-click on the section you want to move or combine.
- From the menu that appears, select “Merge into Another Section.”
- A new window will pop up where you can choose the section you’d like to combine it with.
- Once selected, click “Merge.” OneNote will confirm the process was successful.
- Finally, you’ll be asked whether you want to delete the original section to keep things clean. You can choose to remove it or keep it as a backup.
This small feature can make a big difference when you’re trying to streamline your notebook and keep related content together.
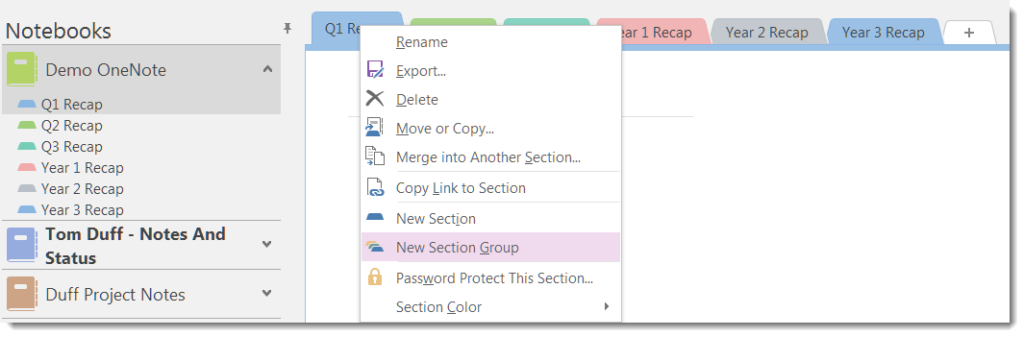
2. Organise Your Notes Better with Section Groups in OneNote
OneNote offers a great way to stay organized, especially when you’re managing large projects or juggling multiple topics. One of its most useful-but often overlooked-features is the ability to create section groups. These groups let you bundle related sections together, making it easier to keep your workspace clean and focused.
Here’s how to set one up:
- Right-click on any existing section in your notebook.
- From the menu that appears, choose “New Section Group.”
- A new group will appear. Right-click it to rename it to something relevant.
- To move a section into the group, just click and drag it into the group.
- Repeat the drag-and-drop process for any other sections you want to include.
Once everything’s grouped, you’ll have a much clearer structure-and less clutter to scroll through.
3. Customise and Share Your OneNote Sections with Ease
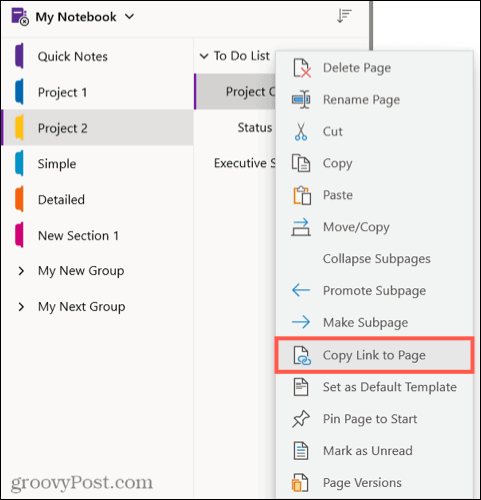
One of the great things about Microsoft OneNote is the flexibility it gives you to personalise your workspace. You can customise your notes in several ways to make them easier to manage and share.
For starters, you can change the colour of your section tabs to visually organise your notebook. Just right-click on a section and choose a new colour from the options that appear-it’s a simple way to make navigation quicker and more intuitive.
Need to share your notes? Right-clicking on a section also brings up options to copy a link to that section, making it easy to share with others online. If you’re working with sensitive information, there’s also a handy feature to protect a section with a password, adding an extra layer of security.
You can even export sections, giving you control over how and where your content is saved or backed up. All these options make OneNote more than just a digital notebook-it becomes a tool tailored to your way of working.
4. Change the text format using OneNote’s tools
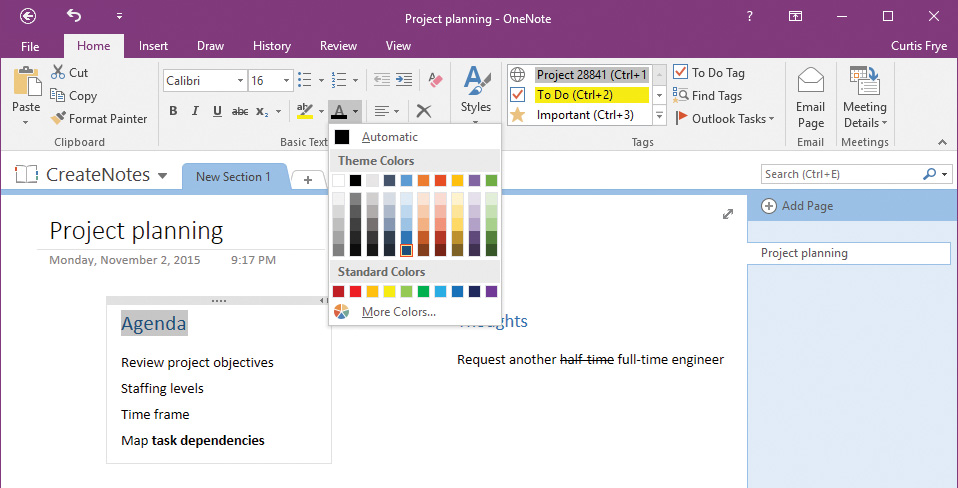
At first, writing in OneNote might feel a little unstructured-notes can go anywhere on the page, and it’s easy to feel like things are a bit messy. But that flexibility is actually one of its strengths, and you’ll quickly get the hang of it.
And since OneNote is part of the Microsoft Office family, it comes with many familiar formatting features. Just highlight the text you want to edit, and you’ll see a toolbar pop up with options to change font size, colour, style, alignment, and more. You can tweak headings, emphasise key points, or colour-code your notes to match your workflow.
It’s a quick and easy way to make your notes not only more readable but also more personalised.
5. Change the Page Background Colour in OneNote
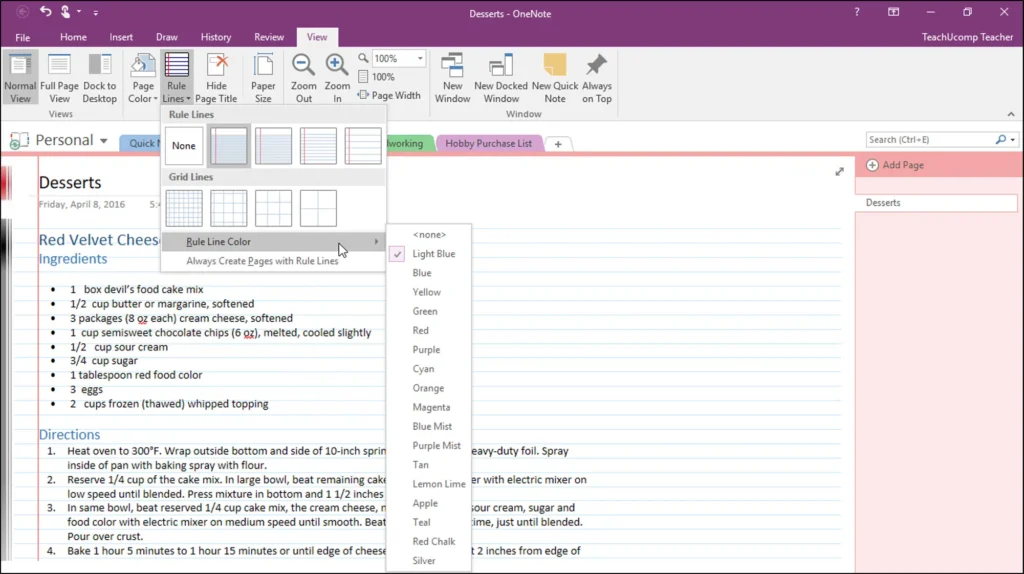
Sticking with the customisation theme, here’s a nice little visual tweak you might enjoy: changing the background colour of the page you’re writing on. While it doesn’t affect how OneNote works, it can make your notes easier on the eyes or just more pleasant to look at.
To do this, go to the View tab at the top of the app, then click on Page Colour. You’ll see a list of background colours to choose from-just pick the one that fits your mood or helps you stay focused.
It’s a small change, but it can make a big difference in how your notes feel.
6. Organise your pages using labels in OneNote
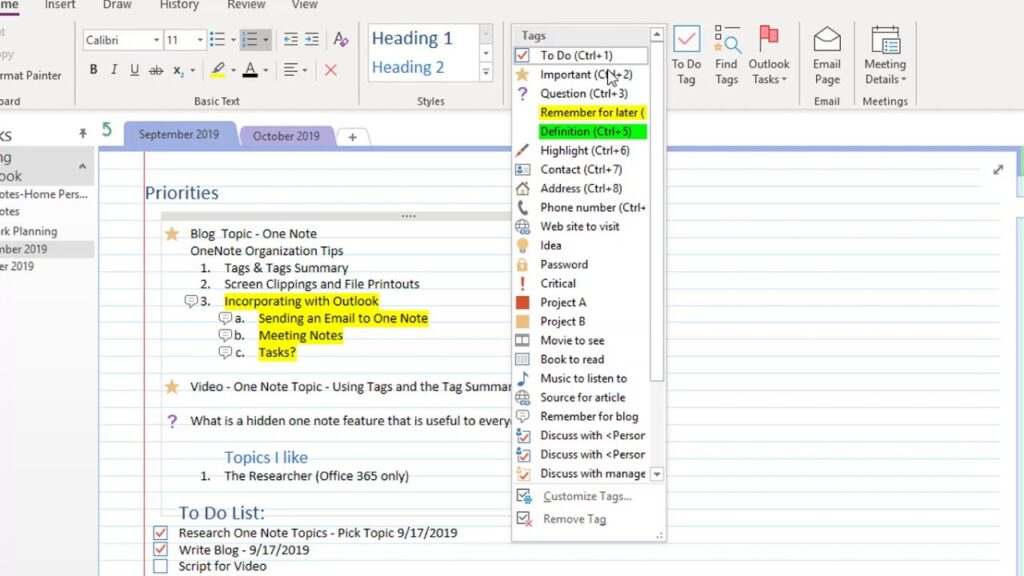
One of the best ways to stay organised and boost your efficiency in OneNote is by using the labels feature. Even if your notes are spread out across multiple sections and pages, labels make it easy to find exactly what you need in an instant.
Here’s how to add a label to your notes:
- Go to the document or section you want to label.
- Click on the Home tab, then select Insert Label.
- A menu will pop up with various label options.
- Simply choose the label that fits your needs.
Using labels is a great way to categorise your notes, track tasks, and ensure nothing gets lost in the shuffle.
7. Draw and Annotate in OneNote with Touch Devices
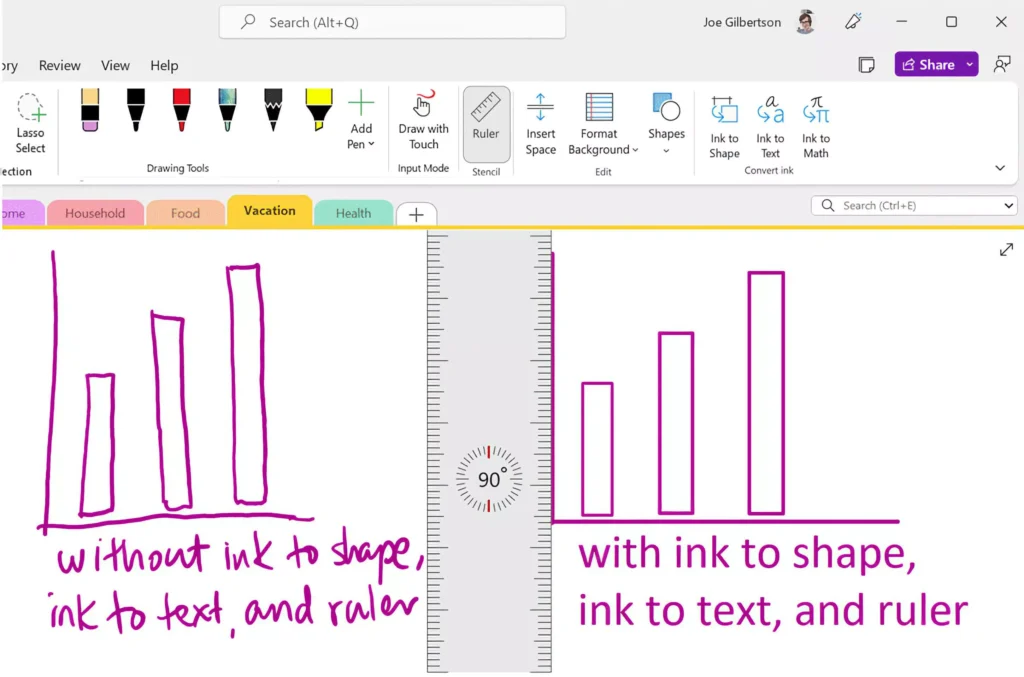
OneNote is designed to work seamlessly on touch devices like tablets, smartphones, and touchscreens, making it a great tool for those who prefer writing or drawing by hand. This feature adds a whole new level of flexibility to your note-taking experience.
To get started, simply click on the Draw tab in the ribbon. From there, you can choose to either type text or switch to freehand drawing. You can also select from different pen styles to suit your preferences.
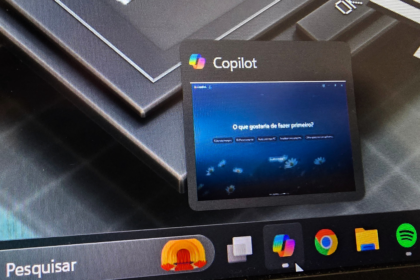
An exciting bonus is the Copilot integration, which now allows OneNote to recognise and convert your handwritten notes into digital text, making it even easier to manage and organise your ideas.
8. Using the Built-in Calculator in OneNote
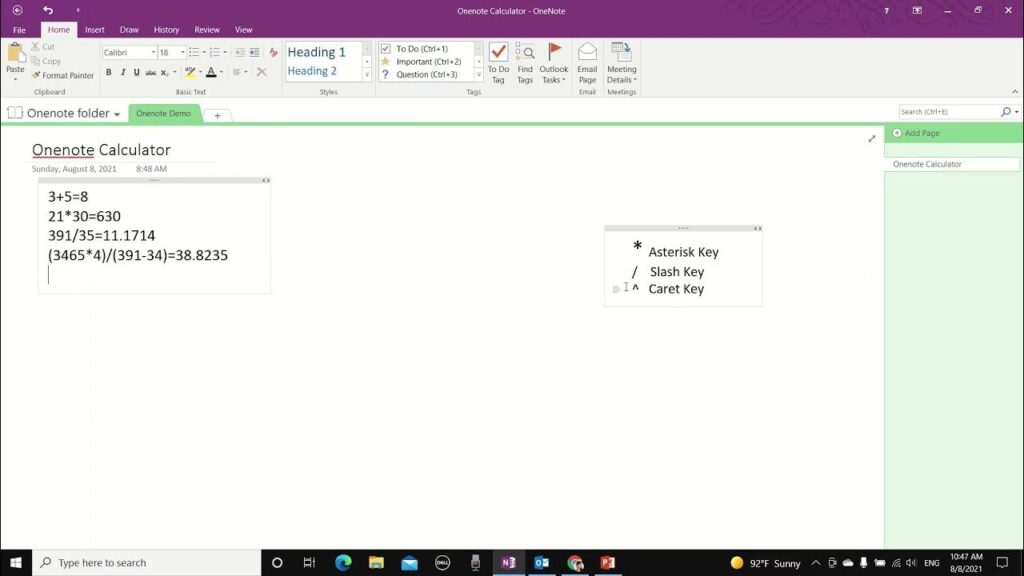
OneNote has a handy calculator tool built right into the app.
While it’s not designed for complex calculations, it’s great for quickly solving simple math problems as you take notes.
Here’s how to use it:
- Create a new text box and type in your math equation.
- After entering the equation, type the equal sign (“=”) and press the spacebar.
- The result will automatically appear!
Just remember, if you forget to hit the spacebar, the equation won’t solve, so make sure to include that step.
9. Use OneNote in a Convenient Desktop Mode
If you often find yourself switching between OneNote and other applications, it can be a bit annoying. Thankfully, there’s an easy fix for this: you can use OneNote in desktop mode, which allows it to stay open on the side of your screen in a compact column.
Here’s how to set it up:
- Click on the View tab at the top.
- Select the Desktop option.
- OneNote will now dock to the right side of your screen, letting you use other apps without having to constantly switch back and forth.
If you ever want to go back to the full-screen view, simply drag the interface from the top (where the three dots are) to restore it.
10. Ensure Accuracy with OneNote’s Spelling Check
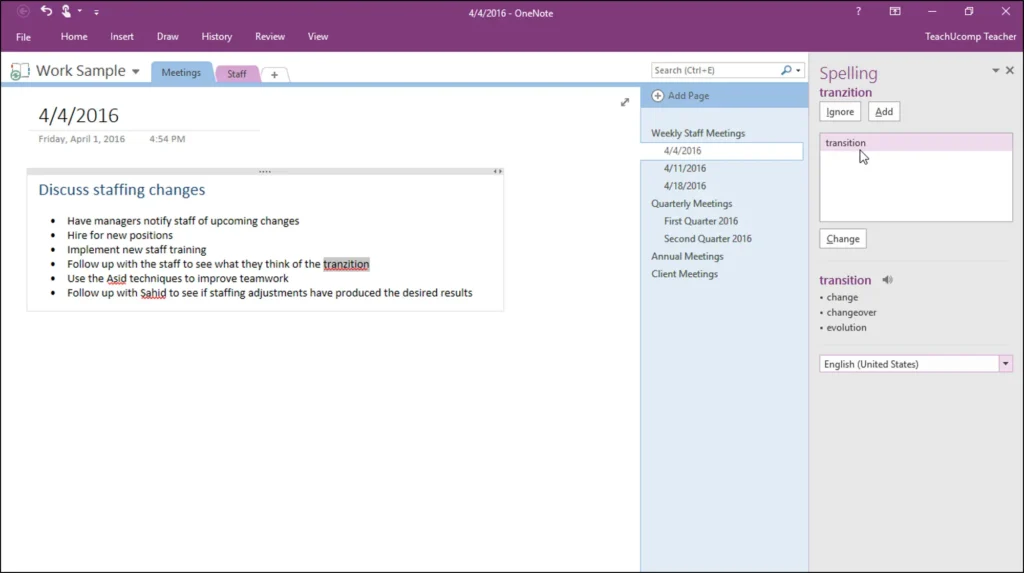
When you’re working in OneNote, it’s always important to make sure your spelling is on point. Fortunately, OneNote has a built-in spelling check to help you catch any mistakes and give you peace of mind.
To use it, just click on the Review tab in the ribbon. Here, you’ll find a variety of tools, including the option to translate text into another language or run the spelling checker. It will highlight any errors, making it easy to spot and correct them.
11. Send OneNote Content via Email with Outlook Integration
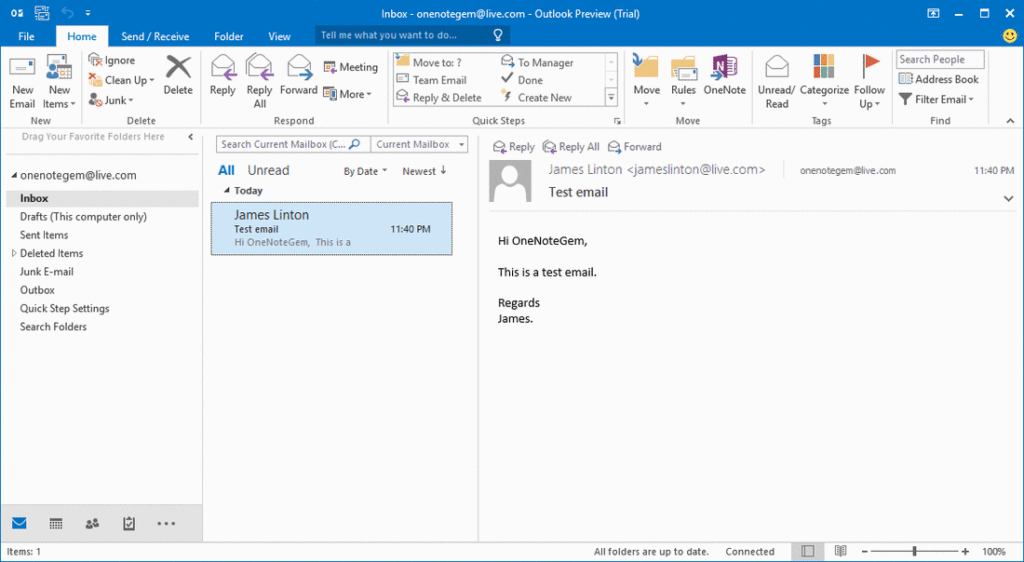
Being part of the Microsoft family, OneNote works seamlessly with Outlook, the company’s email tool. One of the great features is the ability to send the entire content of a section directly via email, with the formatting preserved just as it appears in OneNote.
To do this, simply click on the Start tab in the ribbon and select Send Page by Email. This will open Outlook, where you can review the content and add your recipient before sending it off.
12. Capture Web Content with OneNote Web Clipper
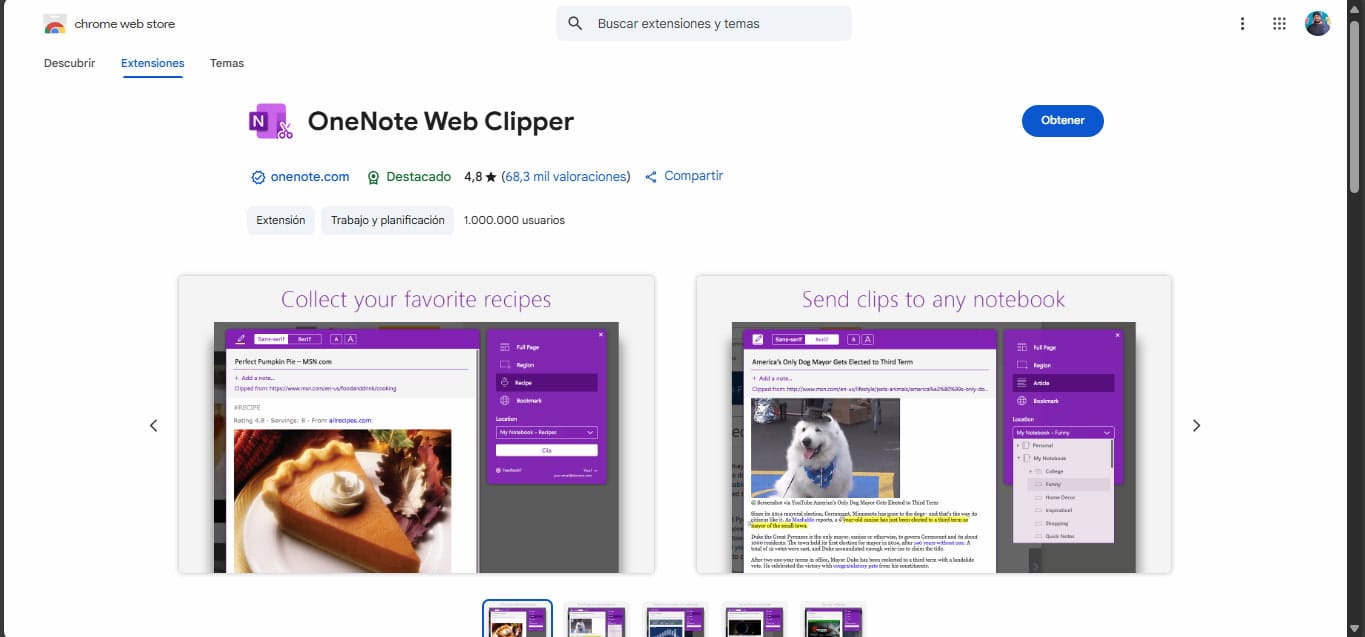
The OneNote Web Clipper is an official Microsoft extension that you can install on your browser, whether it’s Chrome, Firefox, or Edge. With this handy tool, you can easily capture entire web pages or just cut out specific sections and send them directly to OneNote for later viewing.
It’s not just for text either-you can clip PDF files, images, videos, and more, making it a great way to save important content for future reference.
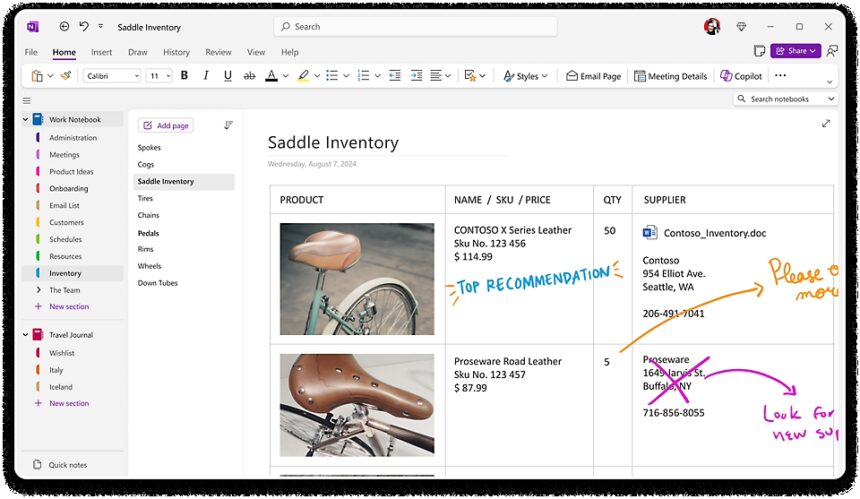
13. Extract Text from Images in OneNote
OneNote has a really handy feature that not everyone knows about: the ability to copy text from an image you’ve added to your notes. This can be a huge time-saver, especially when you don’t want to manually transcribe the text.
To use it, simply upload the image to your OneNote page. Then, right-click on the image and select Copy Text from Picture. OneNote will automatically extract the text for you, making it easy to use elsewhere in your notes.
- OneNote Now integrates Copilot to Recognize Handwritten Notes
- Microsoft Will Retire OneNote for Windows 10 in October 2025
- Microsoft Releases OneNote for Apple Vision Pro


