

macOS is designed to deliver the best possible visual experience by automatically optimising your display settings for sharpness, colour accuracy, and detail. Still, you can manually customise these settings – whether on your built-in display or an external monitor – to make items appear larger or smaller according to your preference.
If everything looks too tiny or too zoomed in, don’t worry – it’s simple to change your Mac’s screen resolution.
Adjusting the Main Display Resolution
- Open System Settings (or System Preferences on older versions of macOS).
- Select Displays.
- Under Resolution, choose Scaled.
- Pick the resolution that best fits your needs.
If you’re using a Retina display, you’ll see options ranging from Larger Text (which enlarges on-screen items) to More Space (which fits more content on the screen). Please note that selecting a scaled option may slightly affect the sharpness of text and images. To revert to the original setting, select Default for Display.
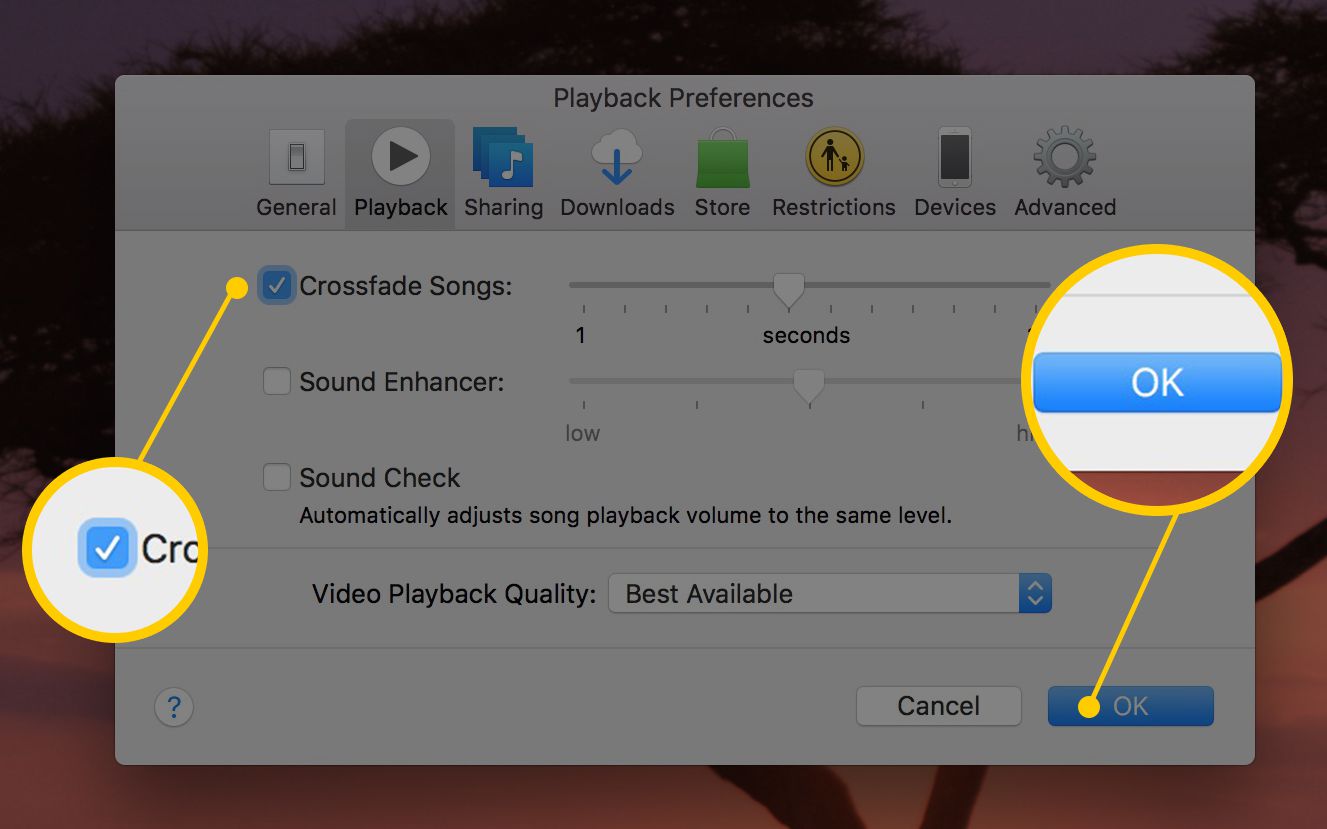
You might also see a message warning that certain apps may not display perfectly at the new resolution. If you’re okay with that, simply click OK to apply the change.
Adjusting the Resolution of an External Display
- Connect the external monitor to your Mac.
- Open System Settings and go to Displays.
- Hold down the Option (⌥) key and click Scaled to reveal all available resolutions.
- Choose your preferred resolution from the list.
Be aware that using resolutions outside your display’s recommended range may reduce image quality or affect performance in some apps.


