

Windows allows multiple user accounts on the same computer, making it easy to share a device or separate work and personal use. By default, Windows encourages you to sign in with a Microsoft account to sync settings, apps, and services across devices.
However, not everyone wants this integration. Many users prefer a local account for privacy, simplicity, or offline use.
In this guide, you’ll learn how to unlink a Microsoft account from Windows 10 and Windows 11, step by step.
Why Unlink a Microsoft Account?
Unlinking your Microsoft account can help you:
- Use Windows without syncing data to Microsoft services
- Improve privacy and reduce cloud dependency
- Create independent user profiles on a shared PC
- Switch from an online account to a local login
Important: Before removing a Microsoft account, you should create a local administrator account. Otherwise, you may lose access to administrative controls on your PC.
1. Create a Local Account (Required)
Before unlinking your Microsoft account, create a local account-especially if your Microsoft account is the administrator.
For Windows 10 and Windows 11
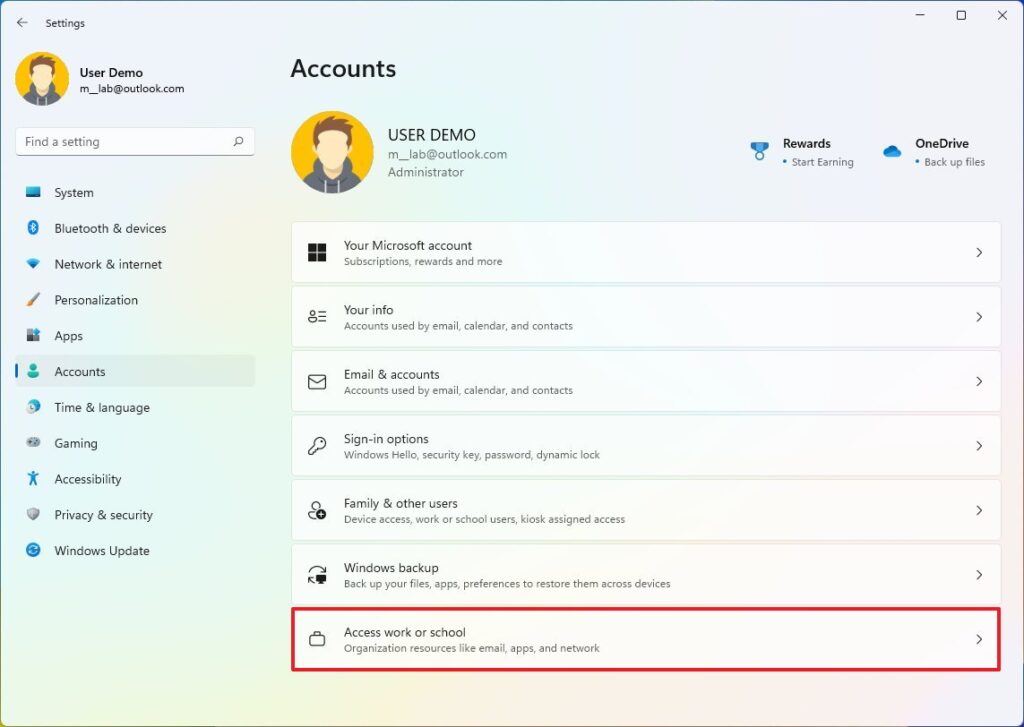
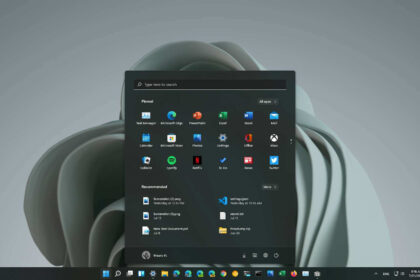
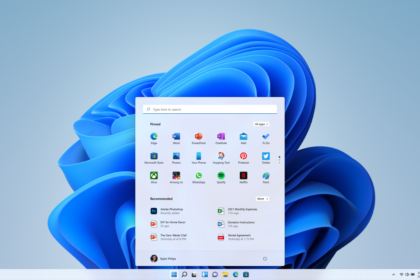
- Open the Start Menu and click Settings
(Shortcut: press Windows + I) - Go to Accounts
- Select Your info
- Click Sign in with a local account instead
- Enter your Microsoft account password to confirm
- Create a username, password, and password hint
- Click Next, then Sign out and finish
2. Unlink (Remove) a Microsoft Account
Once a local account is active, you can safely remove the Microsoft account from your device. Only an administrator account can perform this action.
How to Unlink a Microsoft Account in Windows 10
- Open Settings → Accounts
- Click Family & other users
- Under Other users, select the Microsoft account you want to remove
- Click Remove
- Confirm by selecting Delete account and data
Warning: This will permanently delete all files, settings, and data associated with that account on the PC.
How to Unlink a Microsoft Account in Windows 11
- Open Settings → Accounts
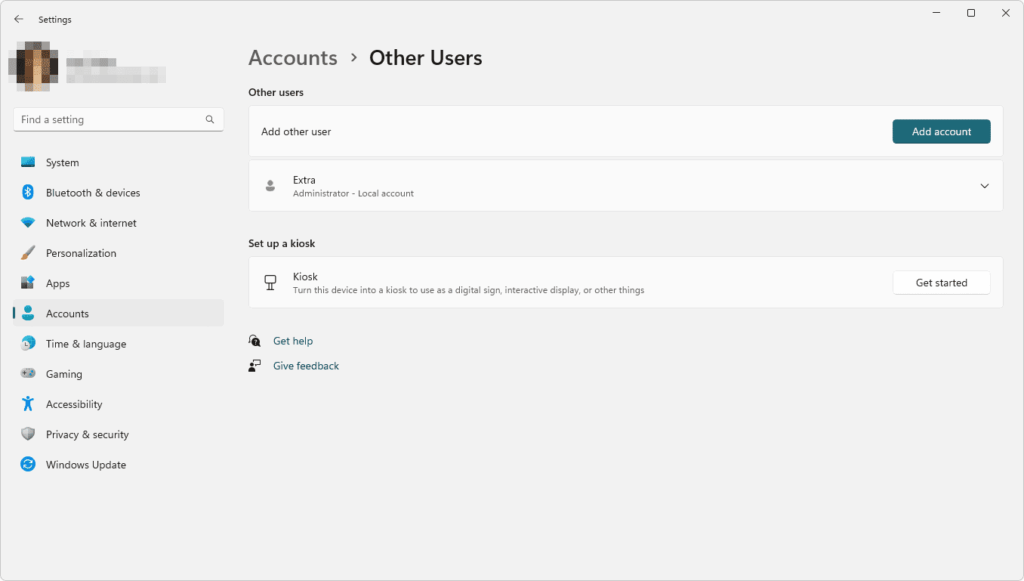
- Select Other users
- Find the Microsoft account you want to unlink
- Click the three-dot menu (⋯) next to the account
- Choose Remove
- Click Delete account and data to confirm
The Microsoft account is now unlinked from your Windows 11 device.
- You can repeat this process for any additional Microsoft accounts on the same PC.
- If you want to continue using Microsoft services (like OneDrive or Microsoft Store), you can still sign in to individual apps without linking the entire Windows profile.
- Always back up important data before deleting any account.
You’ve successfully learned how to unlink a Microsoft account from Windows 10 and Windows 11 and switch to a local account without losing control of your system.
- Enable Live Captions in Windows 11
- Install Windows 11 Without a Microsoft Account
- Activate Windows Via PowerShell


