
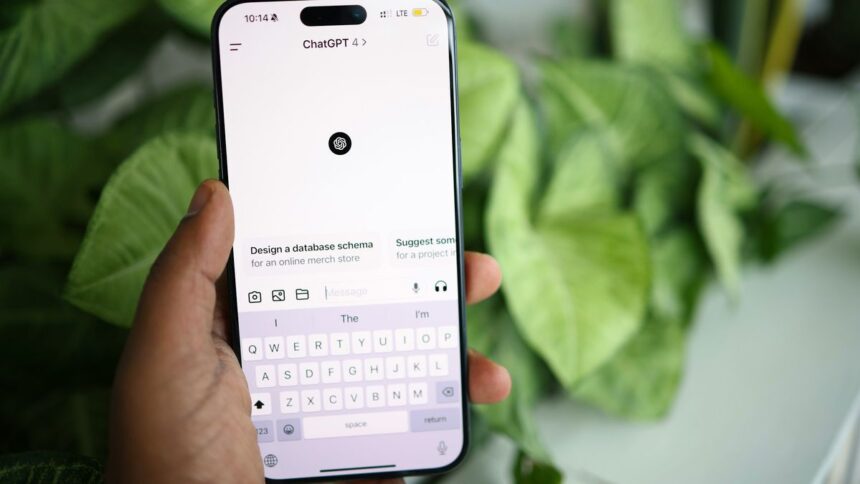
Adobe has officially brought its flagship apps into ChatGPT, and one of the biggest highlights is that Photoshop can now be used directly through chat-based prompts. This integration lets you edit images using natural language, without opening the full Photoshop interface. You can make precise adjustments—such as brightness, contrast, exposure, and color—while also working with intelligent selections and masks powered by Adobe’s AI.
Instead of navigating menus and sliders manually, you simply describe what you want to change, and Photoshop applies those edits inside the chat environment.
How to use Photoshop inside ChatGPT
To start editing photos with Photoshop in ChatGPT, follow these steps:
- Type @Adobe Photoshop in the chat
- Select the Photoshop tool when it appears
- Upload your image (if needed)
- Enter a text prompt describing the edits you want
Once that’s done, you can begin refining your image through simple, conversational commands.
Below are five practical commands you can use to optimise your Photoshop experience in ChatGPT.
1. Improve image lighting and colors
If a photo looks flat, dull, or washed out, adjusting lighting and color balance can instantly make it feel more alive. With Photoshop in ChatGPT, you can ask the AI to enhance vibrancy, rebalance contrast, and adjust overall brightness while preserving the image’s natural appearance.
Example prompt:
“Adjust the lighting and colors of this image. Increase the vibrancy to remove the washed-out look and balance the brightness so the photo looks more natural and vivid.”
This is especially useful for photos taken in poor lighting or with muted tones.
2. Fix shadows, reflections, and blown-out highlights
Photos taken in harsh light often suffer from overly bright highlights or deep shadows that hide details. Photoshop through ChatGPT lets you fix these exposure issues directly through text.
Example prompt:
“Correct the exposure of this photo. Reduce brightness in areas where the light is blown out and gently lift dark shadows to reveal details without flattening the contrast.”
This helps restore balance without making the image look artificial.
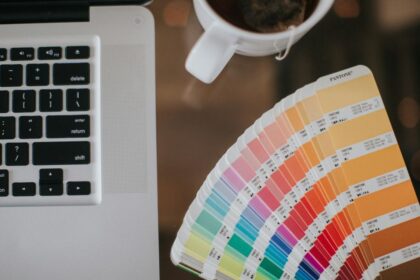
3. Adjust saturation and colour tone
When colors feel off—too faded, overly strong, or simply inaccurate—you can fine-tune saturation and hue through an interactive color adjustment panel.
Example prompt:
“Open the color correction panel. Adjust saturation and vibrancy to remove the washed-out look, and recalibrate the tones so the colors appear true to life.”
This is ideal for correcting photos affected by poor white balance or lighting conditions.
4. Edit only the main subject using smart selection
One of the most powerful features is Smart Selection, which automatically detects the main subject and creates a mask. This allows you to apply edits to just one part of the image—such as a face, person, or object—while leaving the background untouched.
Example prompt:
“Create a smart selection of the main subject and apply a layer mask. I want all adjustments to affect only the subject, not the background.”
This is perfect for portraits, product photos, or any situation where selective editing matters.
5. Convert an image to black and white
Photoshop in ChatGPT also supports black-and-white conversions, whether you want a soft, classic look or a high-contrast, dramatic effect. You can control the final result using contrast and tonal sliders.
Example prompt:
“Convert this image to black and white and give me options to control contrast and tonal depth.”
This allows you to experiment with different styles without having to redo the entire edit from scratch.
Using Photoshop inside ChatGPT lowers the barrier to professional-level photo editing. You don’t need deep knowledge of tools or panels—just describe the result you want. It’s especially helpful for quick edits, experimentation, or learning how adjustments affect an image.
While advanced workflows may still benefit from the full Photoshop app, this chat-based integration makes powerful image editing faster, more accessible, and far more intuitive.


