
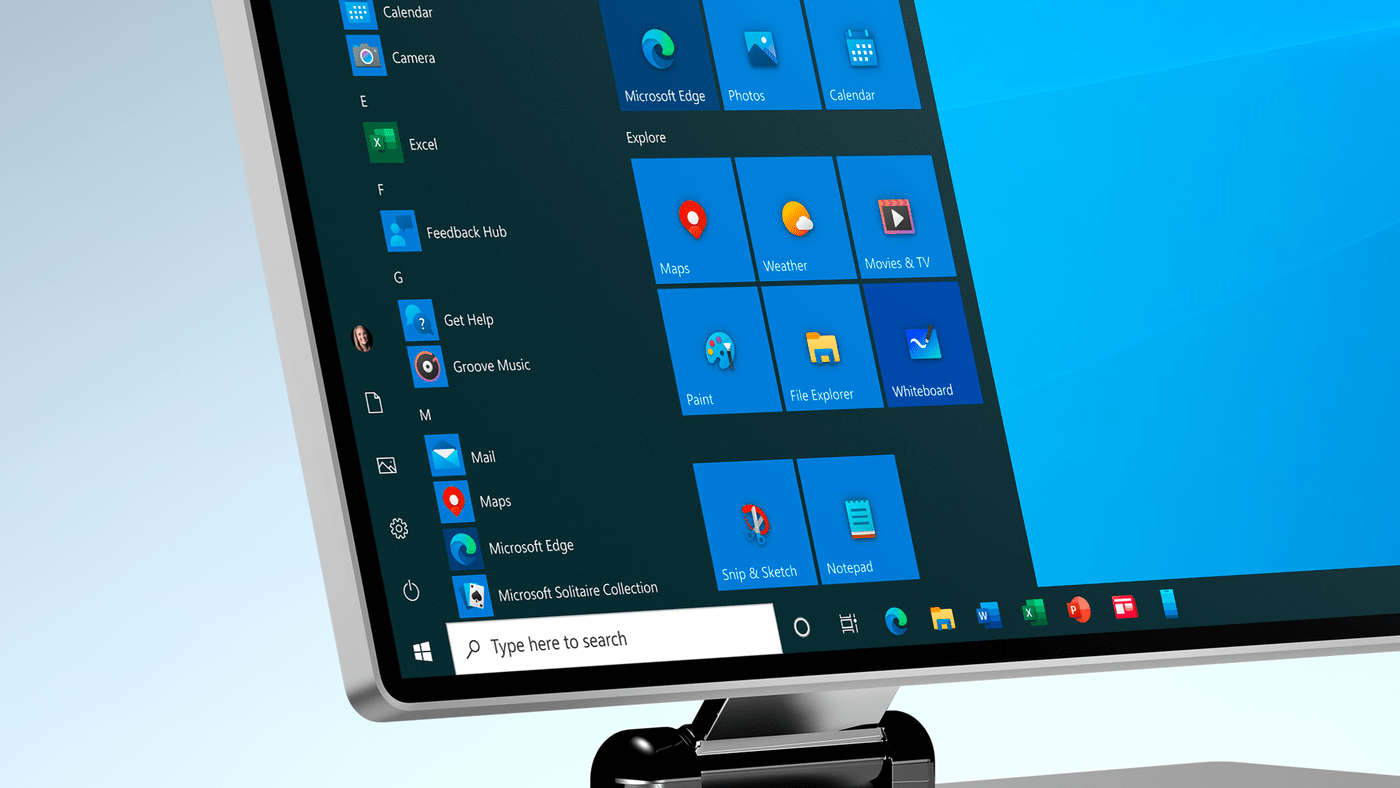
Windows 10 is an operating system developed by Microsoft that offers many features to its users. One is the desktop, where you can store your folders, important documents, and program shortcuts to access them quickly.
Although it comes with a predefined appearance, know that you can customize it, leaving it your way, adding an image, a solid color or even creating a slideshow. This procedure is relatively quick and practical. Check out the step-by-step below!
How to Change Desktop Image in Windows 10
How to Change Your Desktop Background in Windows
Want to give your desktop a fresh look? Follow these simple steps to customize your background:
1. Open Personalization Settings
- Right-click anywhere on an empty area of your desktop.
- Select “Personalize” from the menu that appears.
2. Choose a Background Type
- You can set your background as an image, solid color, or slideshow.
- If you select slideshow, choose the images you want and set how often they should change.
3. Select Your Image (if applicable)
- If you chose “Image”, pick one from the available options or click “Browse” to upload your own.
4. Use High-Resolution Images
- For the best appearance, choose high-resolution images to avoid pixelation or blurriness.
5. Preview Your Selection
- A preview will appear under the “Background” section, showing how it looks before applying.
6. Adjust Display Settings
- Choose a fit option (e.g., Fill, Fit, Stretch, Tile, Center) to properly display the image on your screen.
- Changes are applied automatically-no need to hit save!
Now your desktop has a fresh new look, customized to your style! 🎨✨
You can now customize your desktop image in Windows 10.


