
Dragging windows on a Mac is simple with a mouse – just click and move. But if you use a MacBook’s trackpad, pressing and holding while dragging can feel awkward or imprecise. Luckily, macOS includes built-in gestures that make window dragging smoother and more natural.
There are two main options:
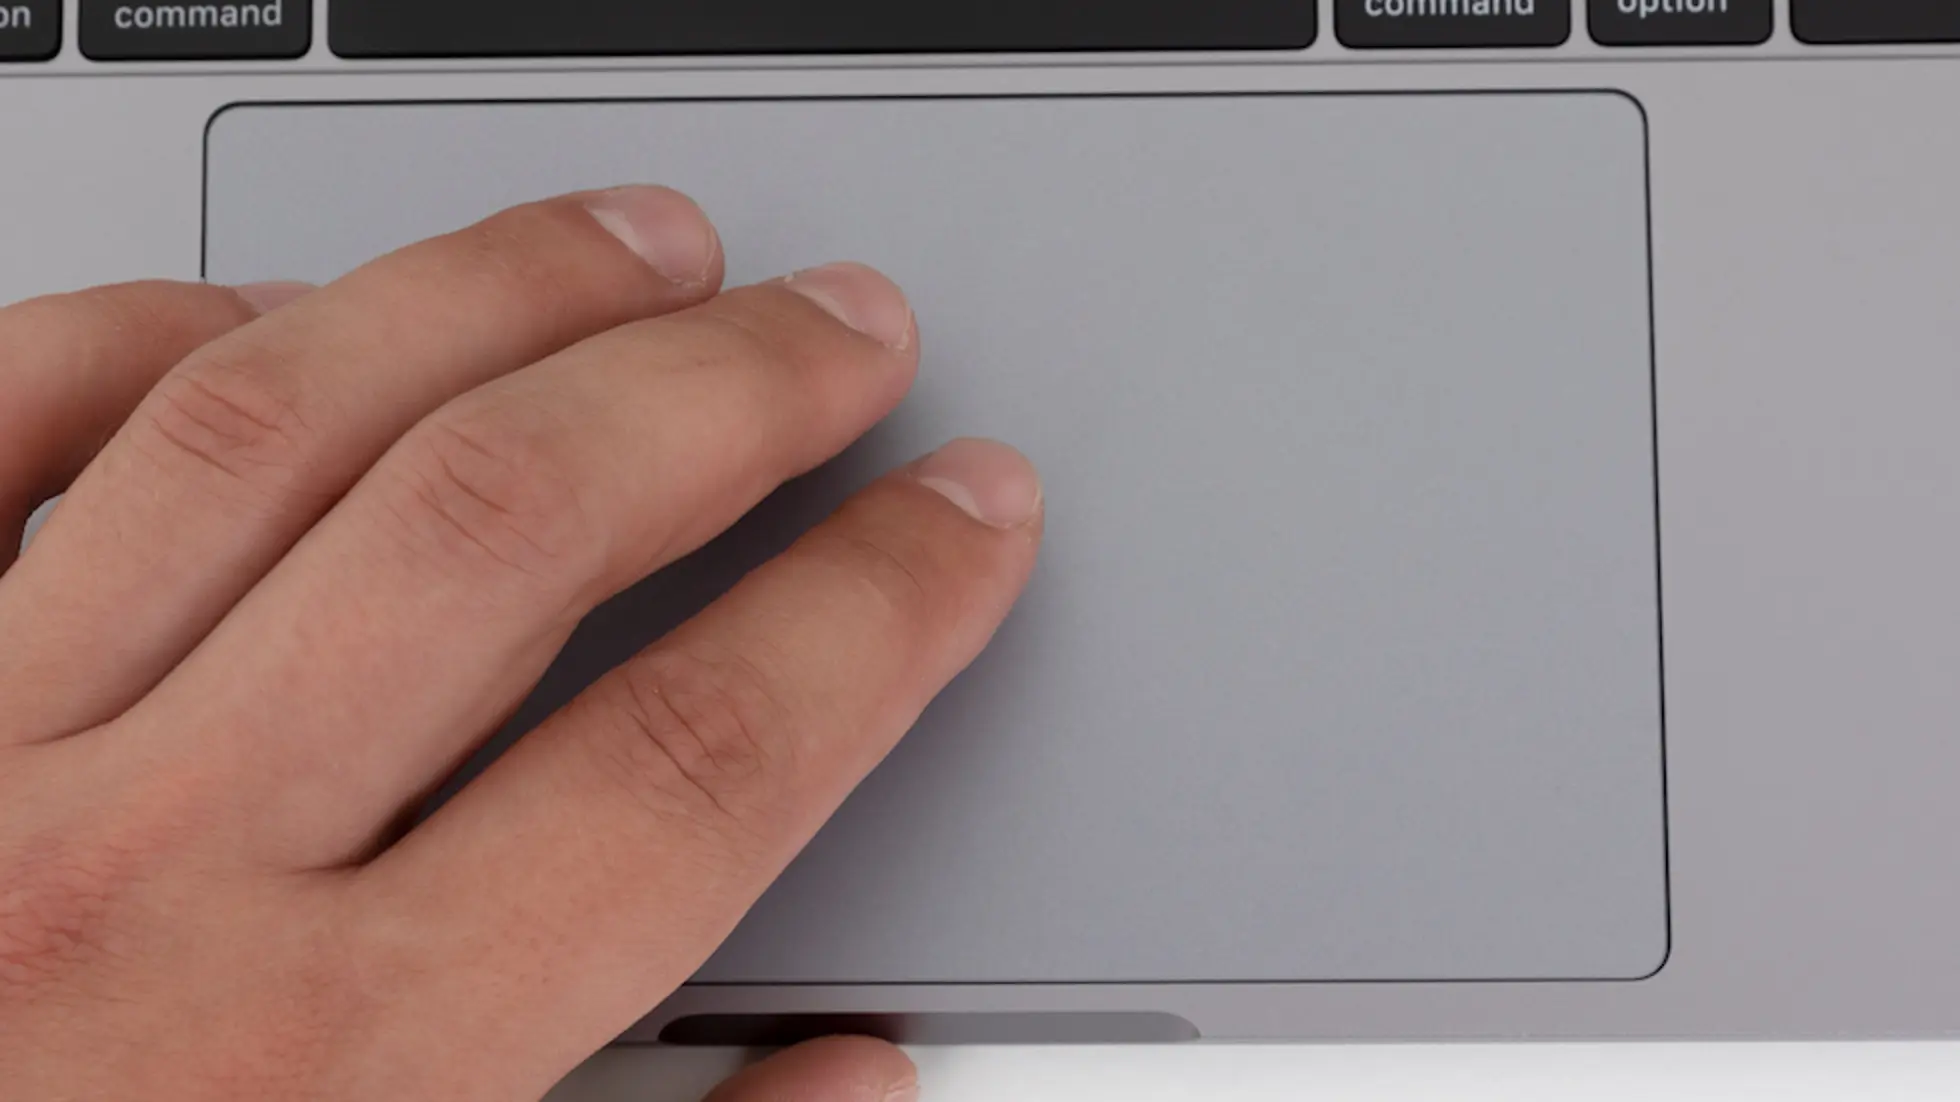
- Three-Finger Drag – Effortless and precise. Just glide three fingers to move a window.
- Locked Drag – Works similarly to the drag method on Windows laptops; it locks the drag temporarily so you don’t have to keep pressing down.
Most users prefer Three-Finger Drag for its speed and comfort.
Set Up Window Dragging on macOS
- Click the Apple menu in the top-left corner and choose System Settings…
(If you’re on macOS Monterey or earlier, it’s “System Preferences…”) - In the sidebar, go to Accessibility → Pointer Control (or Cursor Control on older macOS versions).
- Click Trackpad Options…
- Turn on Enable dragging.
- From the dropdown, select your preferred gesture:
- Three-finger drag – glide with three fingers to move a window.
- Without drag lock – click and drag with one finger.
- With drag lock – click and drag, then lift to release.
- Click OK to save your changes.
Tip
If you choose Three-finger drag, remember:
- Tap lightly with three fingers to grab a window.
- Move your fingers to reposition it.
- Lift your fingers to drop it.
Once you get used to it, this gesture feels much more natural and keeps your workflow fluid.


