
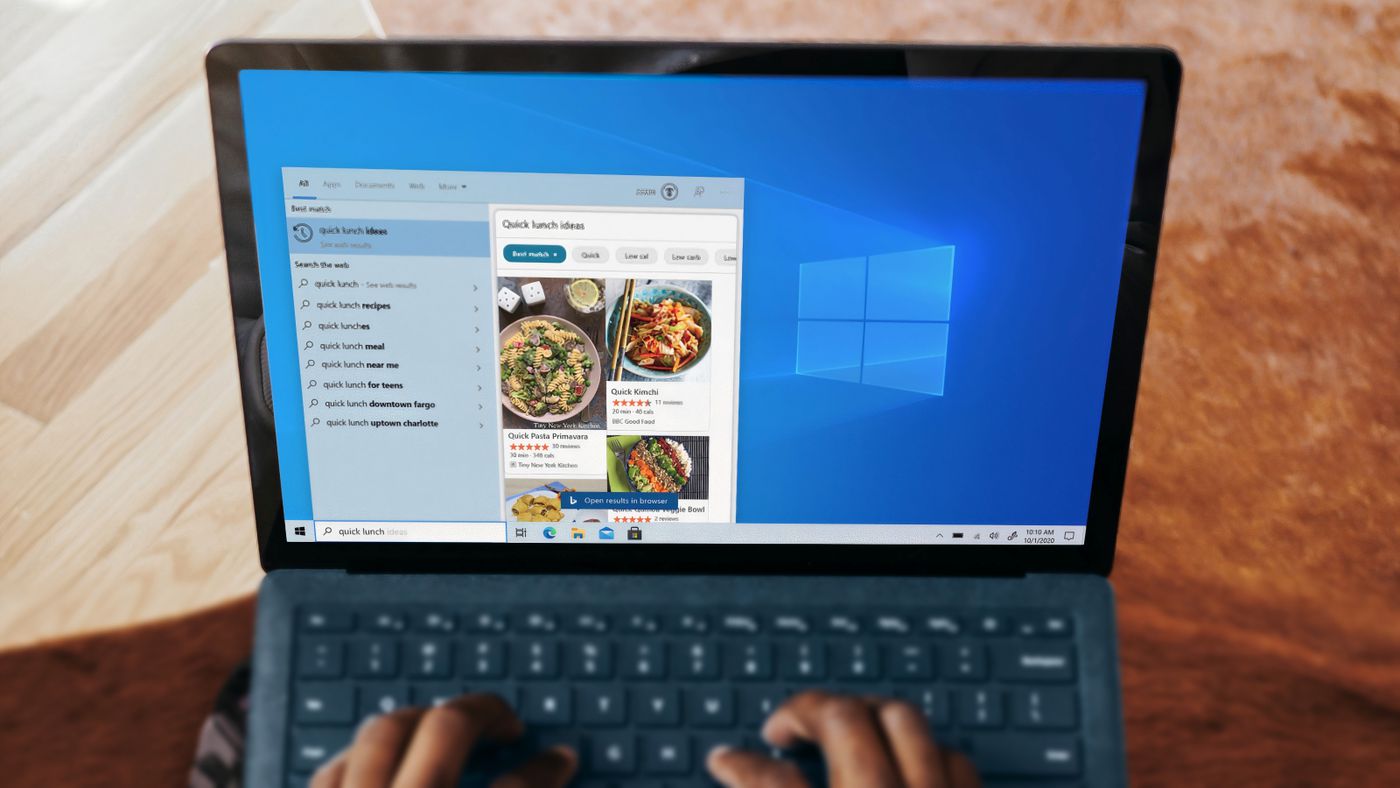
Windows and macOS computers typically rely on automatic date and time synchronization. However, this automated process may not always be completely accurate. Fortunately, users can manually configure the date and time settings on these operating systems and alternative platforms like Linux and Chrome OS.
While the need for manual configuration may have been more apparent during the transition periods of Daylight Savings Time, it remains important for users to understand how to adjust the date and time on their PCs whenever necessary.
In the following sections, we will provide step-by-step instructions for accessing the date and time settings on both Windows and macOS, empowering users to make the desired adjustments easily.
How to change the date and time on your PC
On Windows
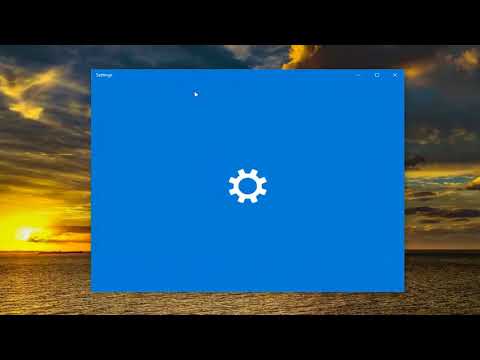
1. On the Windows taskbar, tap on the search field;
2. Type “Settings,” and when the result is displayed, tap on it to open the menu;
3. Now, select the option “Time and Language”;
4. Possibly, the automatic adjustment option is selected. In this case, tap the indicated button to deactivate it;
5. With this, the button dedicated to the manual configuration will be enabled. In the “Set the date and time manually” section, click on “Change”;
6. Choose the date and then the correct time. To confirm, select “Change.”
On macOS
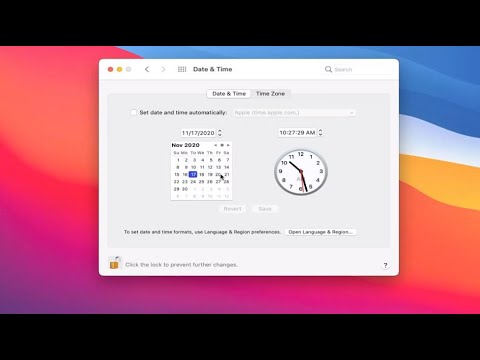
1. Open the Apple menu on macOS, then “System Preferences.” Once that’s done, click on “Date and Time.” To make changes, tap the lock icon in the bottom left corner and enter the admin password. Then click on the “Open Language and Region” tab;
2. Select your exact location or the nearest city;
3. Make the necessary adjustments for the region, day of the week, calendar type, and time format on the next page. Once done, tap on “Advanced”;
4. Now, determine the correct date and click “OK.”


